How to Build a Full Stack JS App and Deploy to Heroku
A step-by-step guide to build a web app with Node, Express, Socket.io for back-end, React for front-end and Heroku for hosting.

Tech Enthusiast, Self Taught Programmer, Entrepreneur and NGO Leader
Since JavaScript made its way into back-end with the introduction of NodeJS, full-stack skills have become deeply required, as front-end engineers started to work more and more on the back-end side as well. In today's tutorial, we will be discussing the steps required to build a simple BlackJack game with JavaScript and how to deploy the app to Heroku.
Full Stack: Node, Express, Socket IO and React
Full-stack engineers are responsible with building ( or working on ) both ends of the web application: the front-end and the back-end. If you are reading this tutorial, I am quite sure you already know what this means and you've probably landed here from a google search on how to build a Express + Socket.IO + React app, or on how to deploy it to Heroku.
Before going into the actual step-by-step guide on how to create a full stack JavaScript application, let us officially shout out to the technologies we will be using:
For the back-end:
- NodeJS - JavaScript Runtime Environment
- Express.js - Web Framework for NodeJS
- Socket.io - Event-based Library for Real-time Web Apps
For the front-end:
For hosting:
Now that we have established the stack we are going to use, moving forward we will focus on four ( mainly separated, but connected ) aspects:
- Building the back-end for the BlackJack App
- Building the front-end interface
- Back-end and front-end integration
- Deploying the full-stack app to Heroku
Note: We will keep the two ends in separate directories. Before wee begin, please make sure you create a directory in which we will work (i.e. mkdir black-jack && cd black-jack in terminal).

Brace yourself, large article ahead!
Back-end: Building a Node + Express + SocketIO Application
Start the terminal and navigate to the project's directory ( the one we have created just earlier ), where we will create a subdirectory that will hold all our back-end files:
cd black-jack && mkdir server && cd server
In case you're not familiar with using the terminal, these commands translate to:
cd black-jack(cd= change directory ): navigate to the black-jack foldermkdir server(mkdir= make directory ): create a new directory inside the black-jack foldercd server: navigate to the newly created folder named server
In order to create our Node + Express + SockerIO based back-end, we need to initialise a new 'node environment'. To do so, we simply use the yarn init command, which will create a new package.json file in the current directory.
Now that we're set up to use node, we can move forward with the actual coding. So let's open the project in your desired IDE. Note: you can do it from the terminal, by typing code .
Installing dependencies
Inside your IDE ( I am using VS Code ) open a new terminal window and install the dependencies we need using yarn:
yarn add cors express path socket.io
Aside from installing the required packages, this command will also generate a yarn.lock file.
Project structure
The structure of the black-jack/server folder should include the following subdirectories and files:
.
├── constants
│   ├── colors.js
│   └── events.js
├── helpers
│   ├── helpers.js
│   └── sockets.js
├── package.json
├── public
├── server.js
├── socket.js
└── yarn.lock
So create the subdirectories and files just as shown above, without adding any code yet, and I will explain what each file does along the way:
server.jsis our main file which will be executed to run the serversocket.jswill hold the logic for socket eventsconstants > colors.jswill be used to store the colour codes that will help us style the terminal outputconstants > events.jswill be used to store the events that triggersocket.iohelpers > helpers.jsand helpers > sockets.js` is where we will define some functions that help us execute certain parts of the applicationpublicis the directory that holds the static files we'll later serve usingexpressyarn.lockandpackage.jsonare created automatically and are part ofnodeandyarnpackage manager.
Coding the Back-end
As you noticed, we’re splitting our app in multiple files, just to keep everything organizer. This being said, we will work concurrently between the files.
We start with server.js:
// server.js
import express from 'express'
import cors from 'cors'
import path from 'path'
import { Server } from 'socket.io'
import { createServer } from 'http'
import { fileURLToPath } from 'url';

import { socket } from './socket.js';

import { COLORS } from './constants/colors.js'

const PORT = process.env.PORT || 4000;
const HOST = PORT === 4000
                ? 'localhost'
                : '0.0.0.0'

const __filename = fileURLToPath(import.meta.url);
const __dirname = path.dirname(__filename);

const app = express();
const server = createServer(app)
const io = new Server(server, {
    cors: {
        origin: HOST === "localhost"
            ? "http://localhost:4000"
            : "https://react-jack.herokuapp.com/",
        credentials: true,
    }
})

server.listen(PORT, HOST, ()  => {
    console.log(COLORS.cyan, `[INFO] Server listening on port ${PORT}`)
    socket({io})
})

app.use(express.static(path.join(__dirname, "/public")));
In the code above, what we are doing is to:
- Import the required modules
- Define a
PORTconstant that implicitly takes valueprocess.env.PORTor 4000. As you will later find out, Heroku implicitly keeps the port value of the server inprocess.env.PORT. The lineconst PORT = process.env.PORT || 4000;basically says 'if there is aprocess.env.PORT, use it, otherwise use4000as the port number where we'll run our server.' - Define a
HOSTconstant that either takes valuelocalhostif the port is4000(so we know we're running the server locally), or0.0.0.0otherwise. Again, we're using0.0.0.0because Heroku dynamically allocates our app an IP and this statement means our HOST constant can be any IP range. - Define the constants
__filenameand__dirnamethat will be later used to determine the dynamic path to our static files that will be served by the server. - Assign constant
appthe value of functionexpress(), which creates a newExpressapplication inside our constant. - Call the
createServer()method on our app, to provide SSL support to ourExpressapp - Initialise a new Socket.IO
Serverthat enablesCross-Origin Resource Sharing. - Create a listener for our
httpserver, inside which we're calling thesocketfunction that we've previously imported from oursocket.jsfile (we'll jump into it in a moment). - Serve our static files to the user using
app.use(express.static(path.join(__dirname, "/public")));(We don't have these files yet, however, we'll create them later using React).
Note: In order to use the ‘import’ syntax, we need to insert the following line in package.json:
{
    ...,
    “type”:”module”,
    ...
}
Creating our socket.js logic:
Because this file extends on about two hounded lines of code, I will approach it on a 'block-by-block' manner, just so it's easier to understand and explain. In the end, you'll just have to combine everything into a single file.
This being said, we start by creating and exporting an asynchronous function called socket. Note that it is the same function we're importing in server.js, inside server.listen(), and that is why we also have to export it:
// socket.js
export const socket = async ({io}) => {
  ...
}
We will now mainly work inside the socket function, so almost the entire code we're writing from now on goes inside it's body. When there's an exception, I will let you know. So let's start by defining a couple of variables that we're going to use along the way. Our app is a two player BlackJack game, so we would need:
// socket.js
    var user_1
    var user_2

    var user_1_ready = false
    var user_2_ready = false

    var user_1_score = 100
    var user_2_score = 100

    var user_1_sum = 0
    var user_2_sum = 0

    var user_1_cards = []
    var user_2_cards = []

    var deck = await createDeck()
As you can see, we're now calling a function that does not exist yet: createDeck(). We might as well define inside or outside our socket, but like we agreed upon on the begging, we want to keep our code as organised as possible. So we will now jump into ./helpers/helpers.js file and define and export createDeck():
// helpers.js
export const createDeck = async () => {
    let values = ["A", "2", "3", "4", "5", "6", "7", "8", "9", "10", "J", "Q", "K"];
    let types = ["C", "D", "H", "S"];
    let deck = [];
    for (let i = 0; i < types.length; i++) {
        for (let j = 0; j < values.length; j++) {
            deck.push(values[j] + "-" + types[i]);
        }
    }
    return await shuffleDeck(deck)
}
Let's discuss around what this function does, as it's purpose is self explanatory (creating a deck of cards):
- We are first creating two arrays that hold the possible values of the cards and also the types of cards.
- We're creating an empty array called the
deck. - And then we are iterating twice, such that we're creating all possible combinations of values from our
valuesandtypes. - In the end, we're returning the
deckarray, that is being passed as an argument of a function we've not yet defined.
Anyone knows that any game including cards should have its deck shuffled. So our deck should also have unordered cards. To do so, let's define shuffleDeck() inside helpers.js (without exporting it this time, as it's only used locally):
// helpers.js
const shuffleDeck = async (deck) => {
    for (let i = 0; i < deck.length; i++) {
        let j = Math.floor(Math.random() * deck.length);
        let temp = deck[i];
        deck[i] = deck[j];
        deck[j] = temp;
    }
    return deck;
}
It says: for any i from 0 to the length of our deck, let there be a j that's a random integer between 0 and 0.99... (math.random() generates a floating-point number between 0 and less than 1) times the length of our deck. And then it assigns the value of the card at index i, the value of the card at index j. In the end, it returns shuffled deck.
So now that we have a shuffled deck, let's head back to socket.js and continue with our code. We've exported createDeck(), however, at this point, socket.js doesn't know of its existence, as we will have to first import it. So at the top of our file, add:
// socket.js
import { createDeck } from './helpers/helpers.js'

export const socket = async ({io}) => {
  ...
}
SocketIO is an events based communication system between the server and its clients. This means we are going to have to 'listen' to what our clients are sending, and respond accordingly. Here's how this is done:
// socket.js
io.on('connection', (data) => {
   // do something with the data ...
}
So basically, when an event (called 'connection' in our example) happens, we're using a listener function that receives some data and we're going to use that data to perform certain actions.
Now, because we want to keep things organised and we're also going to work between a client side and a server side, we will not use 'hardcoded' events. So let's get to /constants/events.js and create and export a constant called EVENTS:
// events.js
export const EVENTS = {
    connection: 'connection',
    disconnect: 'disconnect',
    ROOM: {
        WAITING: 'pendingGame',
        ACTIVE: 'activeGame',
        FULL: 'disconnectParticipant'
    },
    GAME: {
        START: 'startGame',
        ASSIGN_CARDS: 'assignCards',
        STAND_HAND: 'standHand',
        DRAW_CARD: 'drawCard',
        WINNER: 'announceWinner',
        REPLAY: 'replayMatch',
        WAITING_OPPONENT: 'waitingForOpponent',
        ENABLE_GAME: 'enableGame',
        INIT: 'initializeGame'
    },
    USERS: {
        GET_INIT: 'getInitialData',
        READY: 'userReady'
    },
    ROOMS: {
        PLAY_ROOM: 'playRoom'
    }
}
So instead of saying io.on('connection', () => { ...), we're now going to say io.on(EVENTS.connection, () => { ...).
heading back to socket.js, let's import EVENTS and continue coding our logic:
// socket.js
import { createDeck } from './helpers/helpers.js'
import { EVENTS } from './constants/events.js'

export const socket = async ({io}) => {
  // ... variables ...
  io.on(EVENTS.connection, async (socket) => {
        console.log(`[INFO] Connection established: ${socket.id}`)
  }
}
Right now, when a new connection gets established, we're simply console logging the socket.id, just double check that the code is working. But we need more than that for the game to be functional. Now for simplicity, let's trace the following rule:
- When there's a single player, we just need to wait;
- When we have two players on the platform, we can start the game;
- If there's a third player joining the platform, we'll dimply disconnect them.
It means that we need to determine the number of active players (connections) and action accordingly.
// socket.js
// imports
export const socket = async ({io}) => {
  // ... variables ...
  io.on(EVENTS.connection, async (socket) => {
        // ...
        const activeSockets = await io.fetchSockets() // fetch data from all active sockets

        let connections = []
        activeSockets.forEach(socket => {
            connections.push(socket.id) // for each active socket, add its id to the connections array
        });
  }
}
Now that we know what are the active connections, we need an if... else... logic to handle the rules we stated above:
// socket.js
io.on(EVENTS.connection, async (socket) => {
  if ( connections.length < 2  ) {
    // Wait for an opponent
  } else if ( connections.length === 2  ) {
    // Play the game
  } if ( connections.length > 2  ) {
    // Disconnect the third socket
  }
}
When connections.length ( the number of items in connections array ) is less or greater than 2, the logic is quite simple, we either wait, or we disconnect; so let's define those two for now:
// socket.js
if ( connections.length < 2 ) {
  // Waiting for a connection
  console.log(COLORS.cyan,`[INFO] Waiting for players.`)
  socket.emit(EVENTS.ROOM.WAITING)
}
As you will see, on the client side, we're also going to listen to events. So when there's basically only one socket connected, we're emitting an event that says 'the room is waiting' that is going to be received by the socket on thee client side.
// socket.js
else if ( connections.length > 2 ) {
  // The game has already started and we are disconnecting new connections.
  let removePlayers = connections.slice(2,connections.length)
  console.log(COLORS.red,`[INFO] The room is full. Disconnecting socket: ${removePlayers}`)
  activeSockets.forEach(socket => {
    if ( removePlayers.includes(socket.id) ) {
      socket.emit(EVENTS.ROOM.FULL)
      socket.disconnect(true)
    }
  });
}
If there are more than 2 active sockets:
- We create a new array called
removePlayersthat's equal toconnectionswithout its first two values - We're going through each
activeSoketsand if aremovePlayersvalue is found in it, we're sending a disconnect event to that socket.
Now we have the means to connect and disconnect players, so we need to focus on main logic of the game, when there are only two connections available. For this to work, we need to define and listen to multiple events, and act accordingly when one is triggered on the client side:
// socket.js
else if ( connections.length === 2 ) {
  console.log(COLORS.cyan,`[INFO] Two players joined. Joining them in one room.`)
  socket.join(EVENTS.ROOMS.PLAY_ROOM) // we're adding the player to a single room

  io.emit(EVENTS.ROOM.ACTIVE) // we're sending a signal that the game is ready

  user_1 = activeSockets[0].id // variable takes value of first socket id
  user_2 = activeSockets[1].id // variable takes value of second socket id
}

// Defining our events:

socket.on(EVENTS.USERS.GET_INIT, async () => {
  // Client asks to initialise new game
}

socket.on(EVENTS.USERS.READY, async (data, callback) => {
  // Client is ready to play a new round
}

socket.on(EVENTS.GAME.DRAW_CARD, async (user) => {
  // Client asks for a new card
}

socket.on(EVENTS.GAME.STAND_HAND, (user) => {
  // Client stands
}
For each event triggered by the client, we need to act accordingly and send a response to the player. Let's. now focus on our events:
EVENTS.USERS.GET_INIT: This event is triggered by the client on the first round.
// socket.js
socket.on(EVENTS.USERS.GET_INIT, async () => {
    console.log(COLORS.cyan,`[INFO] Initializing game.`)
    deck = await createDeck()

    var user_1_card_1 = await deck.pop() // Gets the first card of the deck and assigns it to Player 1
    var user_2_card_1 = await deck.pop() // Continues to assign cards in order

    var user_1_card_2 = await deck.pop()
    var user_2_card_2 = await deck.pop()

    user_1_cards.length = 0 // Resets user_1_cards array to 0 elements
    user_2_cards.length = 0 // Resets user_2_cards array to 0 elements

    user_1_cards.push(user_1_card_1) // Adds cards to Player 1
    user_1_cards.push(user_1_card_2)

    user_2_cards.push(user_2_card_1) // Adds cards to Player 2
    user_2_cards.push(user_2_card_2)

    user_1_sum = await getValue(user_1_card_1) + await getValue(user_1_card_2)
    user_2_sum = await getValue(user_2_card_1) + await getValue(user_2_card_2)

    // Sends an object to each player including data required to start the game
    io.to(user_1).emit(EVENTS.GAME.INIT, {
        user: 'Player 1',
        score: user_1_score,
        firstCards: {
            cards: user_1_cards,
            total: user_1_sum,
            competitorCard: user_2_cards[1]
        }
    })
    io.to(user_2).emit(EVENTS.GAME.INIT, {
        user: 'Player 2',
        score: user_2_score,
        firstCards: {
            cards: user_2_cards,
            total: user_2_sum,
            competitorCard: user_1_cards[1]
        }
    })
    let check = await check_21(user_1, user_1_sum, user_2, user_2_sum)
    if ( check != null ) {
        console.log(COLORS.green,`[INFO] ${check === user_1 ? 'Player 1' : 'Player 2'} won.`)
        let winnerData = {
                        winner: check === user_1 ? user_1 : user_2,
                        winningCards: check === user_1 ? user_1_cards : user_2_cards,
                        competitorCards: check === user_1 ? user_2_cards : user_1_cards
                    }
        console.log(COLORS.green,`[INFO] Winning Data is: ${winnerData}`)
        io.emit(EVENTS.GAME.WINNER, winnerData)
    }
    console.log(COLORS.cyan,`[INFO] Game started.`)
})
Let's see what the code does:
- We're creating a new deck of cards
- We're distributing cards to the players using the
.pop()method - We're pushing the cards into one array for each player
- We're checking the sum of the cards for each player using the
getValue()function - We're sending an object to each player that contains:
- The name of the player
- The score ( 100 points )
- The player's first two cards
- The player's first two cards value
- The opponent second card ( which in the real game is seen on the table )
- We check if one of the player scored '21' and if so:
- We emit a
EVENTS.GAME.WINNERto both players - We send both players:
- The name of the winner
- The winning cards
- The opponent's cards
- We emit a
Note that getValue() and check_21() are two functions that we're calling, but that we have't defined yet. So let's head back to ./helpers/helpers.js:
// helpers.js
export const getValue =  async (card) => {
    if ( card != undefined ) {
        let data = card.split("-");
        let value = data[0];
        if (isNaN(value)) {
            if (value == "A") {
                return 11;
            }
            return 10;
        }
        return parseInt(value);
    }
    return card
}
Remember our cards are a combination of values and types as defined in helpers.js > createDeck(), with a card having the following structure: "value-type". For example, nine of clubs is "9-C". So to get the value, we're basically deconstructing the card by:
- Splitting the card where "-" is encountered ( which generates an array )
- Defining value as the first item ( index 0 ) of the deconstructed data
- If the value is not a number, we check for either an Ace, a Jack, a Queen, or King
- If the value is a number, we return the integer
// helpers.js
export const check_21 = async (user_1, user_1_sum, user_2, user_2_sum,  ) => {
    if ( user_1_sum === 21 && user_1_sum != user_2_sum) {
        return user_1
    }
    if ( user_2_sum === 21 && user_2_sum != user_1_sum) {
        return user_2
    }
    return null
}
check_21 is a function that checks if a user's card sum up to 21. If it does, then it simply returns the user. Otherwise, it returns null.
EVENTS.USERS.READY: This event is triggered by the client in order to play another round.
socket.on(EVENTS.USERS.READY, async (data) => {
    if ( data == "Player 1" ) {
        console.log(COLORS.yellow,`[INFO] Player 1 Ready.`)
        user_1_ready = true
    }
    if ( data == "Player 2") {
        console.log(COLORS.yellow,`[INFO] Player 2 Ready.`)
        user_2_ready = true
    }

    if ( user_1_ready && user_2_ready ) {
        deck = await createDeck()

        var user_1_card_1 = await deck.pop()
        var user_2_card_1 = await deck.pop()

        var user_1_card_2 = await deck.pop()
        var user_2_card_2 = await deck.pop()

        user_1_ready = false
        user_2_ready = false

        user_1_cards.length = 0
        user_2_cards.length = 0

        user_1_cards.push(user_1_card_1)
        user_1_cards.push(user_1_card_2)

        user_2_cards.push(user_2_card_1)
        user_2_cards.push(user_2_card_2)

        user_1_sum = await getValue(user_1_card_1) + await getValue(user_1_card_2)
        user_2_sum = await getValue(user_2_card_1) + await getValue(user_2_card_2)

        io.to(user_1).emit(EVENTS.GAME.REPLAY, {
            user: 'Player 1',
            score: user_1_score,
            firstCards: {
                cards: user_1_cards,
                total: user_1_sum,
                competitorCard: user_2_cards[1]
            }
        })
        io.to(user_2).emit(EVENTS.GAME.REPLAY, {
            user: 'Player 2',
            score: user_2_score,
            firstCards: {
                cards: user_2_cards,
                total: user_2_sum,
                competitorCard: user_1_cards[1]
            }
        })
        let check = await check_21(user_1, user_1_sum, user_2, user_2_sum)
        if ( check != null ) {
            console.log(COLORS.green,`[INFO] ${check === user_1 ? 'Player 1' : 'Player 2'} won.`)
            let winnerData = {
                            winner: check === user_1 ? user_1 : user_2,
                            winningCards: check === user_1 ? user_1_cards : user_2_cards,
                            competitorCards: check === user_1 ? user_2_cards : user_1_cards
                        }
            console.log(COLORS.green,`[INFO] Winning Data is: ${winnerData}`)
            io.emit(EVENTS.GAME.WINNER, winnerData)
        }
    }
})
Here's what this block of code does:
- It receives data from the client side that includes the name of the player
- It checks the name of the player and changes value of the state (
user_X_ready) to true, based on the name of the player that emitted the event - Once both users are ready it recreates the steps we presented at
EVENTS.USERS.GET_INIT
EVENTS.GAME.DRAW_CARD: This event is triggered by the client to request a new card
socket.on(EVENTS.GAME.DRAW_CARD, async (user) => {
    let card = deck.pop()
    let cardValue = await getValue(card)
    console.log(COLORS.yellow,`[INFO] ${user} draws ${card}`)
    if ( user === 'Player 1' ) {
        user_1_sum += cardValue
        user_1_cards.push(card)
        if ( user_1_sum < 21 ) {
            io.to(socket.id).emit(EVENTS.GAME.DRAW_CARD, {
                cards: user_1_cards,
                total: user_1_sum
            })
        } else {
            io.to(socket.id).emit(EVENTS.GAME.DRAW_CARD, {
                cards: user_1_cards,
                total: user_1_sum
            })
            io.emit(EVENTS.GAME.WINNER, {
                winner: user_1_sum === 21 ? user_1 : user_2,
                winningCards: user_1_sum === 21 ? user_1_cards : user_2_cards,
                competitorCards: user_1_sum === 21 ? user_2_cards : user_1_cards
            })
        }
    } else if ( user === 'Player 2' ) {
        user_2_cards.push(card)
        user_2_sum += cardValue
        if ( user_2_sum < 21 ) {
            io.to(socket.id).emit(EVENTS.GAME.DRAW_CARD, {
                cards: user_2_cards,
                total: user_2_sum
            })
        } else {
            io.to(socket.id).emit(EVENTS.GAME.DRAW_CARD, {
                cards: user_2_cards,
                total: user_2_sum
            })
            io.emit(EVENTS.GAME.WINNER, {
                winner: user_2_sum === 21 ? user_2 : user_1,
                winningCards: user_2_sum === 21 ? user_2_cards : user_1_cards,
                competitorCards: user_2_sum === 21 ? user_1_cards : user_2_cards
            })
        }
    }
})
Since we have an if... else... statement based on the Player's name and the actions are similar in both blocks, I am going to comment only one section. This being said, in this part we:
.pop()a new card out of the deck- Get its value
- Add the card's value to the total value ( including previous cards )
- Add the card to the cards array
- Send the user an object which includes the cards and the total value
EVENTS.GAME.STAND_HAND: This event is triggered by the client that stands ( does not draw card )
socket.on(EVENTS.GAME.STAND_HAND, (user) => {
    console.log(COLORS.yellow,`[INFO] ${user} stands`)
    if ( user == "Player 1" ) {
        user_1_ready = true
    }

    if ( user == "Player 2") {
        user_2_ready = true
    }

    if ( user_1_ready && user_2_ready ) {
        io.emit(EVENTS.GAME.WINNER, {
            winner: user_1_sum > user_2_sum ? user_1 : user_2,
            winningCards: user_1_sum > user_2_sum ? user_1_cards : user_2_cards,
            competitorCards: user_1_sum > user_2_sum ? user_2_cards : user_1_cards
        })
        user_1_ready = false
        user_2_ready = false
    }
})
Again, we're checking which user triggered the event, and if both did, we're sending them the 'winning' object.
Now there is only one more thing we have to cover: the users that disconnect from the game or some sort of errors. We will do this on the same level as the if... else... statement that handles the connections.length. Here is what we need to add:
socket.on(EVENTS.disconnect, () => {
    user_1_ready = false
    user_2_ready = false
    user_1_score = 100
    user_2_score = 100
    user_1_cards.length = 0
    user_2_cards.length = 0
    console.log(COLORS.red,`[INFO] Socket ${socket.id} disconnected`)
    activeSockets.forEach(s => {
        if ( s.id === socket.id ) {
            io.to(EVENTS.ROOMS.PLAY_ROOM).emit(EVENTS.ROOM.WAITING, socket.id)
        }
    });
    activeSockets.length = 0
})

socket.on("connect_error", (err) => { console.log(err)});
Basically, if we receive an disconnect event, we're resetting our values and we're informing the remaining player that the status of the room is pending again. And that's it, we have the back-end.
The entire code for it can be found on GitHub, HERE
Front-end: A React and SocketIO Web App
We'll start in our project's directory ( the 'black-jack' folder ). So let's open a terminal there and create a new subdirectory, this time using npx:
npx create-react-app client
This command will create a new React app for us, inside the client folder ( that is automatically created as well ). Let's cd into client and open the project in our preferred IDE.
Installing dependencies
Let's open a new terminal inside our IDE and install the dependencies using yarn:
yarn add bootstrap socket.io-client react-bootstrap
Project structure
Apart from the built-in React folders and files, our black-jack/client directory should include the following subdirectories and files, which we will create now:
.
├── public
├── src
│   ├── App.jsx
│   ├── components
│   │   ├── FullRoom.jsx
│   │   ├── GameRoom.jsx
│   │   └── WaitingRoom.jsx
│   ├── config
│   │   ├── default.js
│   │   └── events.js
│   ├── context
│   │   └── socket.js
│   └── index.js
├── package.json
└── yarn.lock
So, we want to create:
- A
componentsdirectory, inside which we will keep our React components - A
configdirectory that will keep our constants - A
contextdirectory where we'll create our socket context
Coding the Front-end
Let's get started. The first thing we want to do is to import bootstrap so that we can use it. Head to src > index.js and add the following lines on top of your document:
import "bootstrap/dist/css/bootstrap.min.css";
import 'bootstrap/dist/js/bootstrap.bundle';
Now, let's define our constants:
- Create a
events.jsfile insidesrc/configand simply copy-paste the events from ourserverproject. - Create a
default.jsfile and add following constant inside it:export const SOCKET_URL = window.location.hostname === "localhost" ? "http://127.0.0.1:4000" : "https://your-heroku-app.herokuapp.com/"SOCKET_URLto be "http://127.0.0.1:4000", otherwise, set it to your Heroku app's url that we'll create later.
Moving further, we will use React's createContext method to provide our app with a global state for our socket. Head over to the context directory and create a socket.js file:
// socket.js
import React from "react";
import socketio from "socket.io-client";
import { SOCKET_URL } from "../config/default";

export const socket = socketio.connect(SOCKET_URL);
export const SocketContext = React.createContext();
HERE is a brief description of what this code does.
Now we need to imoport and use our socket into the React app. We want to go back to src > App.jsx and update the file to look like this:
import React, { useEffect, useState } from 'react'
import { EVENTS } from './config/events';
import { socket, SocketContext } from './context/socket';


function App() {
  return (
    <SocketContext.Provider  value={socket}>
      <div className="vh-100">
         {/* We'll work on more later */}
      </div>
    </SocketContext.Provider>
  );
}

export default App;
Now that our app is ready, let's trace a strategy. Here is what we want to achieve:
- We want to display a waiting page when there is only one player on the platform
- We want two players to be able to join the game
- And we want to disconnect a third player from our socket and display a 'full room' message
I'd say we can do this by conditionally rendering three components, based on the state of the game:
- a
WaitingRoomcomponent, when the game status isEVENTS.ROOM.WAITING - a
GameRoomcomponent, when the game status isEVENTS.ROOM.ACTIVE - a
FullRoomcomponent, when the game status isEVENTS.ROOM.FULL
So let's first create these components inside src/components and we'll import them into App.jsx:
- src/components/WaitingRoom.jsx:
import React from 'react'

export default function WaitingRoom() {
  return (
    <div className='vh-100 d-flex align-items-center justify-content-center bg-warning'>
      <div className='text-danger fw-bold fs-2 text-center'>
        <p className='m-0'>Welcome to BlackJack!</p>
        <picture>
          <img src="/images/logo.webp" width={'50%'}/>
        </picture>
        <p className='m-0'>Please wait while we connect you with another player! 👀</p>
      </div>
    </div>
  )
}
- src/components/FullRoom.jsx:
import React from 'react'

export default function FullRoom() {
  return (
    <div className='vh-100 d-flex align-items-center justify-content-center bg-danger'>
      <div className='text-white fw-bold fs-2 text-center'>
      <p className='m-0 fs-1'> Ups... </p>
        <picture>
          <img src="/images/logo.webp" width={'50%'}/>
        </picture>
        <p className='m-0'>The room is currently full. Please try again later! 😔 </p>
      </div>
    </div>
  )
}
- src/components/GameRoom.jsx:
import React, { useEffect, useState } from 'react'
import { EVENTS } from '../config/events'
import { SocketContext, socket } from '../context/socket'
import Alert from 'react-bootstrap/Alert'

export default function GameRoom() {
  return (
    <SocketContext.Provider value={socket}>
         {/* We'll add to it later */}
    </SocketContext.Provider>
  )
}
Notice that GameRoom.jsx is the most complex component in which we'll render our game, so that is why I skipped adding to it now. It is also the only component using the socket context, since inside it, we will bot listen to and emit events. You will see what that means shortly.
Now since we have the components, let's import them into App.jsx and conditionally render them. Here is what we need to do:
import React, { useEffect, useState } from 'react'
import { EVENTS } from './config/events';
import { socket, SocketContext } from './context/socket';
import WaitingRoom from './components/WaitingRoom';
import FullRoom from './components/FullRoom';
import GameRoom from './components/GameRoom';

function App() {
  const [gameStatus, setGameStatus] = useState(EVENTS.ROOM.WAITING)
  useEffect(() => {
    socket.on(EVENTS.ROOM.WAITING, () => {
      setGameStatus(EVENTS.ROOM.WAITING)
    })

    socket.on(EVENTS.ROOM.ACTIVE, () => {
      setGameStatus(EVENTS.ROOM.ACTIVE)
    })

    socket.on(EVENTS.ROOM.FULL, () => {
      setGameStatus(EVENTS.ROOM.FULL)
    })
  }, [gameStatus])
  return (
    <SocketContext.Provider  value={socket}>
      <div className="vh-100">
        {
            gameStatus === EVENTS.ROOM.WAITING &&
              <WaitingRoom />
        }
        {
            gameStatus === EVENTS.ROOM.ACTIVE &&
              <GameRoom />
        }
        {
            gameStatus === EVENTS.ROOM.FULL &&
              <FullRoom />
        }
      </div>
    </SocketContext.Provider>
  );
}

export default App;
Now let's see what this code does:
- We're using React's
useStateto update the state of our game - We're using React's
useEffectto check for updates on our socket - Based on the events received from the server, we're updating the state of
gameStatus - We're rendering the components we've created based on the value of
gameStatus
Now with this out of the way, we will only focus on our main component, GameRoom.jsx. Now this part is a bit tricky, as we need to focus on both defining and rendering the data we're receiving from the server.
I have been thinking of a way to move between the lines, however, I came to the conclusion that it is best to treat the code on a block-by-block manner. This being said, I will start by defining the variable we're going to use, and I am using useState in order to update them:
export default function GameRoom() {

    const [userData, setUserData] = useState([])
    const [competitorCard, setCompetitorCard] = useState(null)
    const [competitorHiddenCard, setCompetitorHiddenCard] = useState('BACK')
    const [cards, setCards] = useState([])
    const [displayCards, setDisplayCards] = useState(null)
    const [total, setTotal] = useState(0)
    const [disableButtons, setDisableButtons] = useState(false)
    const [enableRematch, setEnableRematch] = useState(true)
    const [alertHidden, setAlertHidden] = useState(true)
    const [alertMessage, setAlertMessage] = useState(null)
    const [disableRefresh, setDisableRefresh] = useState(true)

  return (
    <SocketContext.Provider value={socket}>
         {/* We'll add to it later */}
    </SocketContext.Provider>
  )
}
Let me explain what each variable will do and you will figure out more one we add some html to our jsx file:
userDatais an array which will hold the object we're sending from the back-end whenEVENTS.GAME.INITandEVENTS.GAME.REDYare triggered. Remember the object containing the player's name, score and first cards.competitorCardholds the name of the shown card of the competitor; it's also the one sent by the back-end when the events above are triggered.competitorHiddenCardhas initial value 'BACK' as while the game is playing, the player cannot see the opponent's card. It then gets updated onEVENTS.GAME.WINNERwith the card received from the server.cardsis the array holding the cards of the player.totalholds the value of all the player's cards.
We're then defining some boolean variables that will allow the user to press certain button, based on the status of the game. For example, once the player hits the 'stand' button, then the game 'freezes' for him, so we need to disable all the buttons.
Let' s add the HTML part and we'll handle the logic of the game after:
return (
    <SocketContext.Provider value={socket}>
        {/* Navigaton */}
        <nav className="navbar navbar-dark bg-dark text-white">
            <div className="container-fluid d-flex justify-content-between fw-bolder">
                <span className="navbar-brand mb-0 h1">Welcome, { userData.user }!</span>
                <div className="fw-bolder bg-warning text-dark rounded p-2">
                    💰 { userData.score }
                </div>
            </div>
        </nav>
        {/* Action menu */}
        <div className="position-absolute top-50 end-0 translate-middle">
            <div className="p-2">
                <button onClick={drawCard} className="btn btn-danger fs-1 rounded rounded-more m-1" title="Draw" hidden={disableButtons ? true : false} disabled={enableRematch ? false : true}>
                    🃏
                </button> <br/>
                <button onClick={standHand} className="btn btn-info fs-1 rounded rounded-more m-1" title="Stand" hidden={disableButtons ? true : false} disabled={enableRematch ? false : true}>
                    ✋🏻
                </button>
                <button onClick={resetCanvas} className="btn btn-light fs-1 rounded rounded-more m-1" title="Rematch" hidden={disableButtons ? false : true} disabled={disableRefresh}>
                    🔄
                </button>
            </div>
        </div>
        {/* Main Body */}
        <div className="vh-100 bg-success">
            <Alert variant='info' className='position-absolute top-50 start-50 translate-middle' hidden={alertHidden}>{ alertMessage }</Alert>
            <div className="h-50 border-bottom border-dark border-3">
                <div className="text-center p-2 text-warning fw-lighter">
                    {  userData.user === "Player 1" ? "Player 2" : "Player 1" }
                </div>
                <div className='d-flex justify-content-evenly'>

                    <picture ><img className='me-1' src={`/cards/${competitorHiddenCard}.png`} width={'100px'} /></picture>
                    <picture ><img className='me-1' src={`/cards/${competitorCard}.png`} width={'100px'} /></picture>

                </div>
            </div>
            <div className="h-50 bg-success">
                <div className="d-flex justify-content-between">
                    <div className="text-center p-2 text-warning fw-lighter">
                        {  userData.user === "Player 1" ? "Player 1" : "Player 2" }
                    </div>
                    <div className="text-center p-2">
                        Total: { total }
                    </div>
                </div>
                <div className='d-flex justify-content-evenly'>
                    { displayCards }
                </div>
            </div>

        </div>
    </SocketContext.Provider>
  )
Here, we have:
- A navigation bar that displays the player's name (
userData.user) and score (userData.score) - An action menu with three buttons: one to hold, one to draw, one to play another round
- And the main body, which includes:
- An alert box to display the result of the round
- An upper
divthat displays the cards of the opponent - A lower
divthat displays the player's cards and their value
Now, let us build the logic. We know that we have to listen to events and also emit events on buttons press. The events listening will take place in a useEffect hook and the events emission will be handled inside functions that are going to be called when we click the specific buttons. Let's start with the useEffect hook:
useEffect(() => {
        socket.emit(EVENTS.USERS.GET_INIT) // Inform the server that the player is ready tom play

        socket.on(EVENTS.GAME.INIT, (data) => {
        // Handle initial data
            setUserData(data)
            setCards(data.firstCards.cards)
            setCompetitorCard(data.firstCards.competitorCard)
            setTotal(data.firstCards.total)
        })

        socket.on(EVENTS.GAME.REPLAY, (data) => {
        // Handle new rounds
            setDisableRefresh(false)
            setEnableRematch(true)
            setDisableButtons(false)
            setUserData(data)
            setCards(data.firstCards.cards)
            setCompetitorCard(data.firstCards.competitorCard)
            setTotal(data.firstCards.total)
        })

        socket.on(EVENTS.GAME.WINNER, (data) => {
        // Handle winning data
            setDisableRefresh(false)
            setRe(true)
            if ( data.winner === socket.id ) {
                setAlertMessage('You won!')
                setDisableButtons(true)
                setCompetitorCards(data.competitorCards)
                setCompetitorHiddenCard(data.competitorCards[0])
            } else {
                setAlertMessage('You lost')
                setDisableButtons(true)
                setCompetitorCards(data.winningCards)
                setCompetitorHiddenCard(data.winningCards[0])
            }
            setAlertHidden(false)
        })

        socket.on(EVENTS.GAME.DRAW_CARD, async (data) => {
        // Handle card draw
            setTotal(data.total)
            setCards(data.cards)
        })

        window.addEventListener("unload", function (e) {
        // Handle disconnects on page refresh
            socket.disconnect()
        })
As you can see, on every event, it is then simply a matter of setting the states of the according variables in order to render them in DOM. Exceptions make:
- the first line (
socket.emit(EVENTS.USERS.GET_INIT)) which we're using to 'inform' the server that the player is ready to play. - the last
addEventListenerthat we're using to 'inform' thee server that the player has refreshed the page, hence should be disconnected.
Moving forward, in order to finish our app, we need three functions to handle 'drawing of a new card', 'standing' and 'playing another round'. Here is what we need to add:
const resetCanvas = async () => {
    await socket.emit(EVENTS.USERS.READY, userData.user)
    setCompetitorHiddenCard('BACK')
    setDisplayCards(null)
    setAlertHidden(true)
    setAlertMessage(null)
    setDisableRefresh(true)
}

const standHand = async () => {
    setDisableButtons(true)
    socket.emit(EVENTS.GAME.STAND_HAND, userData.user)
}

const drawCard = async () => {
    await socket.emit(EVENTS.GAME.DRAW_CARD, userData.user)
}
Again, we're basically emitting events that are going to be picked up by the server, and it will respond accordingly to the logic we've designed in the first part ( 'Building the Back-end' ).
The full code can be found on GitHib, HERE
Deploying to Heroku: Node + Express + SocketIO + React
Remember how we served some static files in our server using app.use(express.static(path.join(__dirname, "/public")));. Now, what we need to do is to add the static files to the server/public folder. However, since we've used React for the front end, we first need to build the static project.
#1: Build Static Files From React
In your terminal window, navigate to the ./black-jack/client directory and type the following command:
yarn build
This command will generate a new folder called build inside your client dirrectory. What we need to do now is to simply copy the contents of this folder into the ./server/public one. Remember, this are the static files our Express app will serve once the users land on our domain.
#2: Push to GitHub
You could directly deploy your app to Heroku at this stage. However, Heroku offers an amazing functionality that allows us to deploy through Git and even auto deploy on push. So we are going to take this route, as it offers both version control and deployment. Here is what you need to do to push to GitHub:
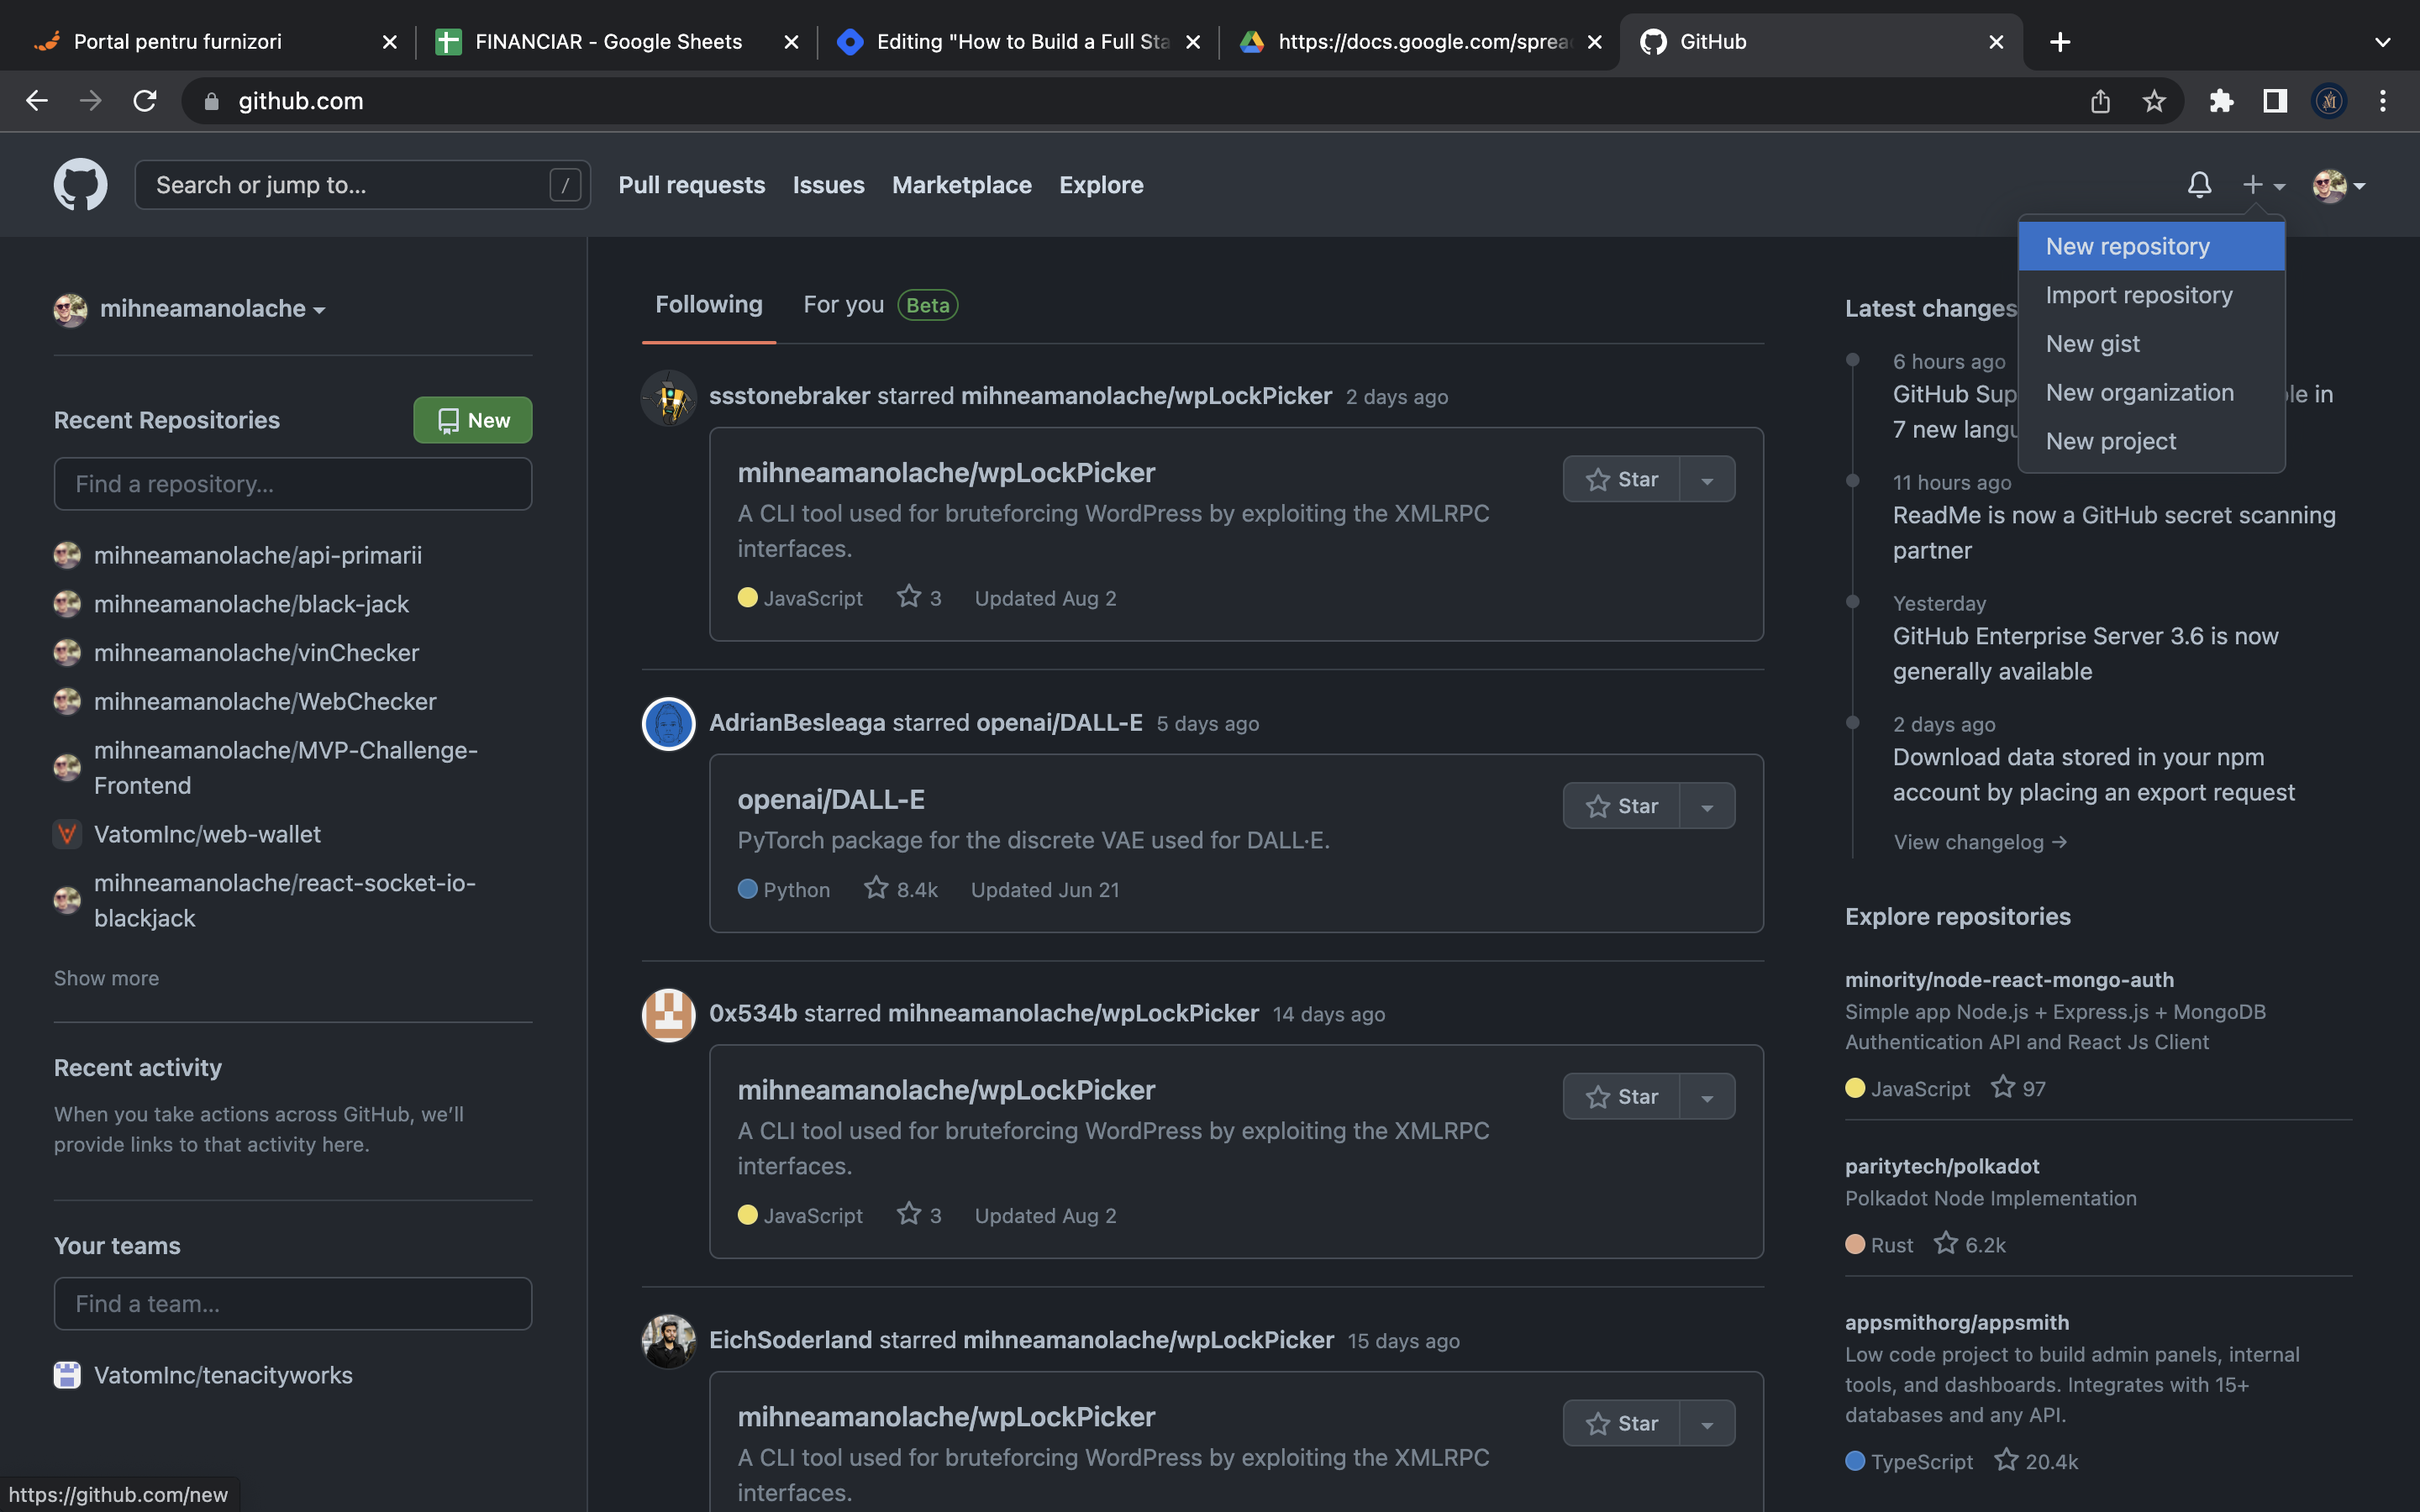
- Navigate to github.com and create a new repository
- I usually name mine as the project directory (
black-jackin this case) - Add a short description
- Click the green 'Create repository' button
- I usually name mine as the project directory (
- Head back to the terminal al 'link' your local project to the remote repository by typing the following commands:
git init -b main
git add .
git commit -m "First commit"
git remote add origin git@github.com:your_username/your-git-repo.git
git push -u origin main
Now your files are on GitHub and ready to deploy! :D
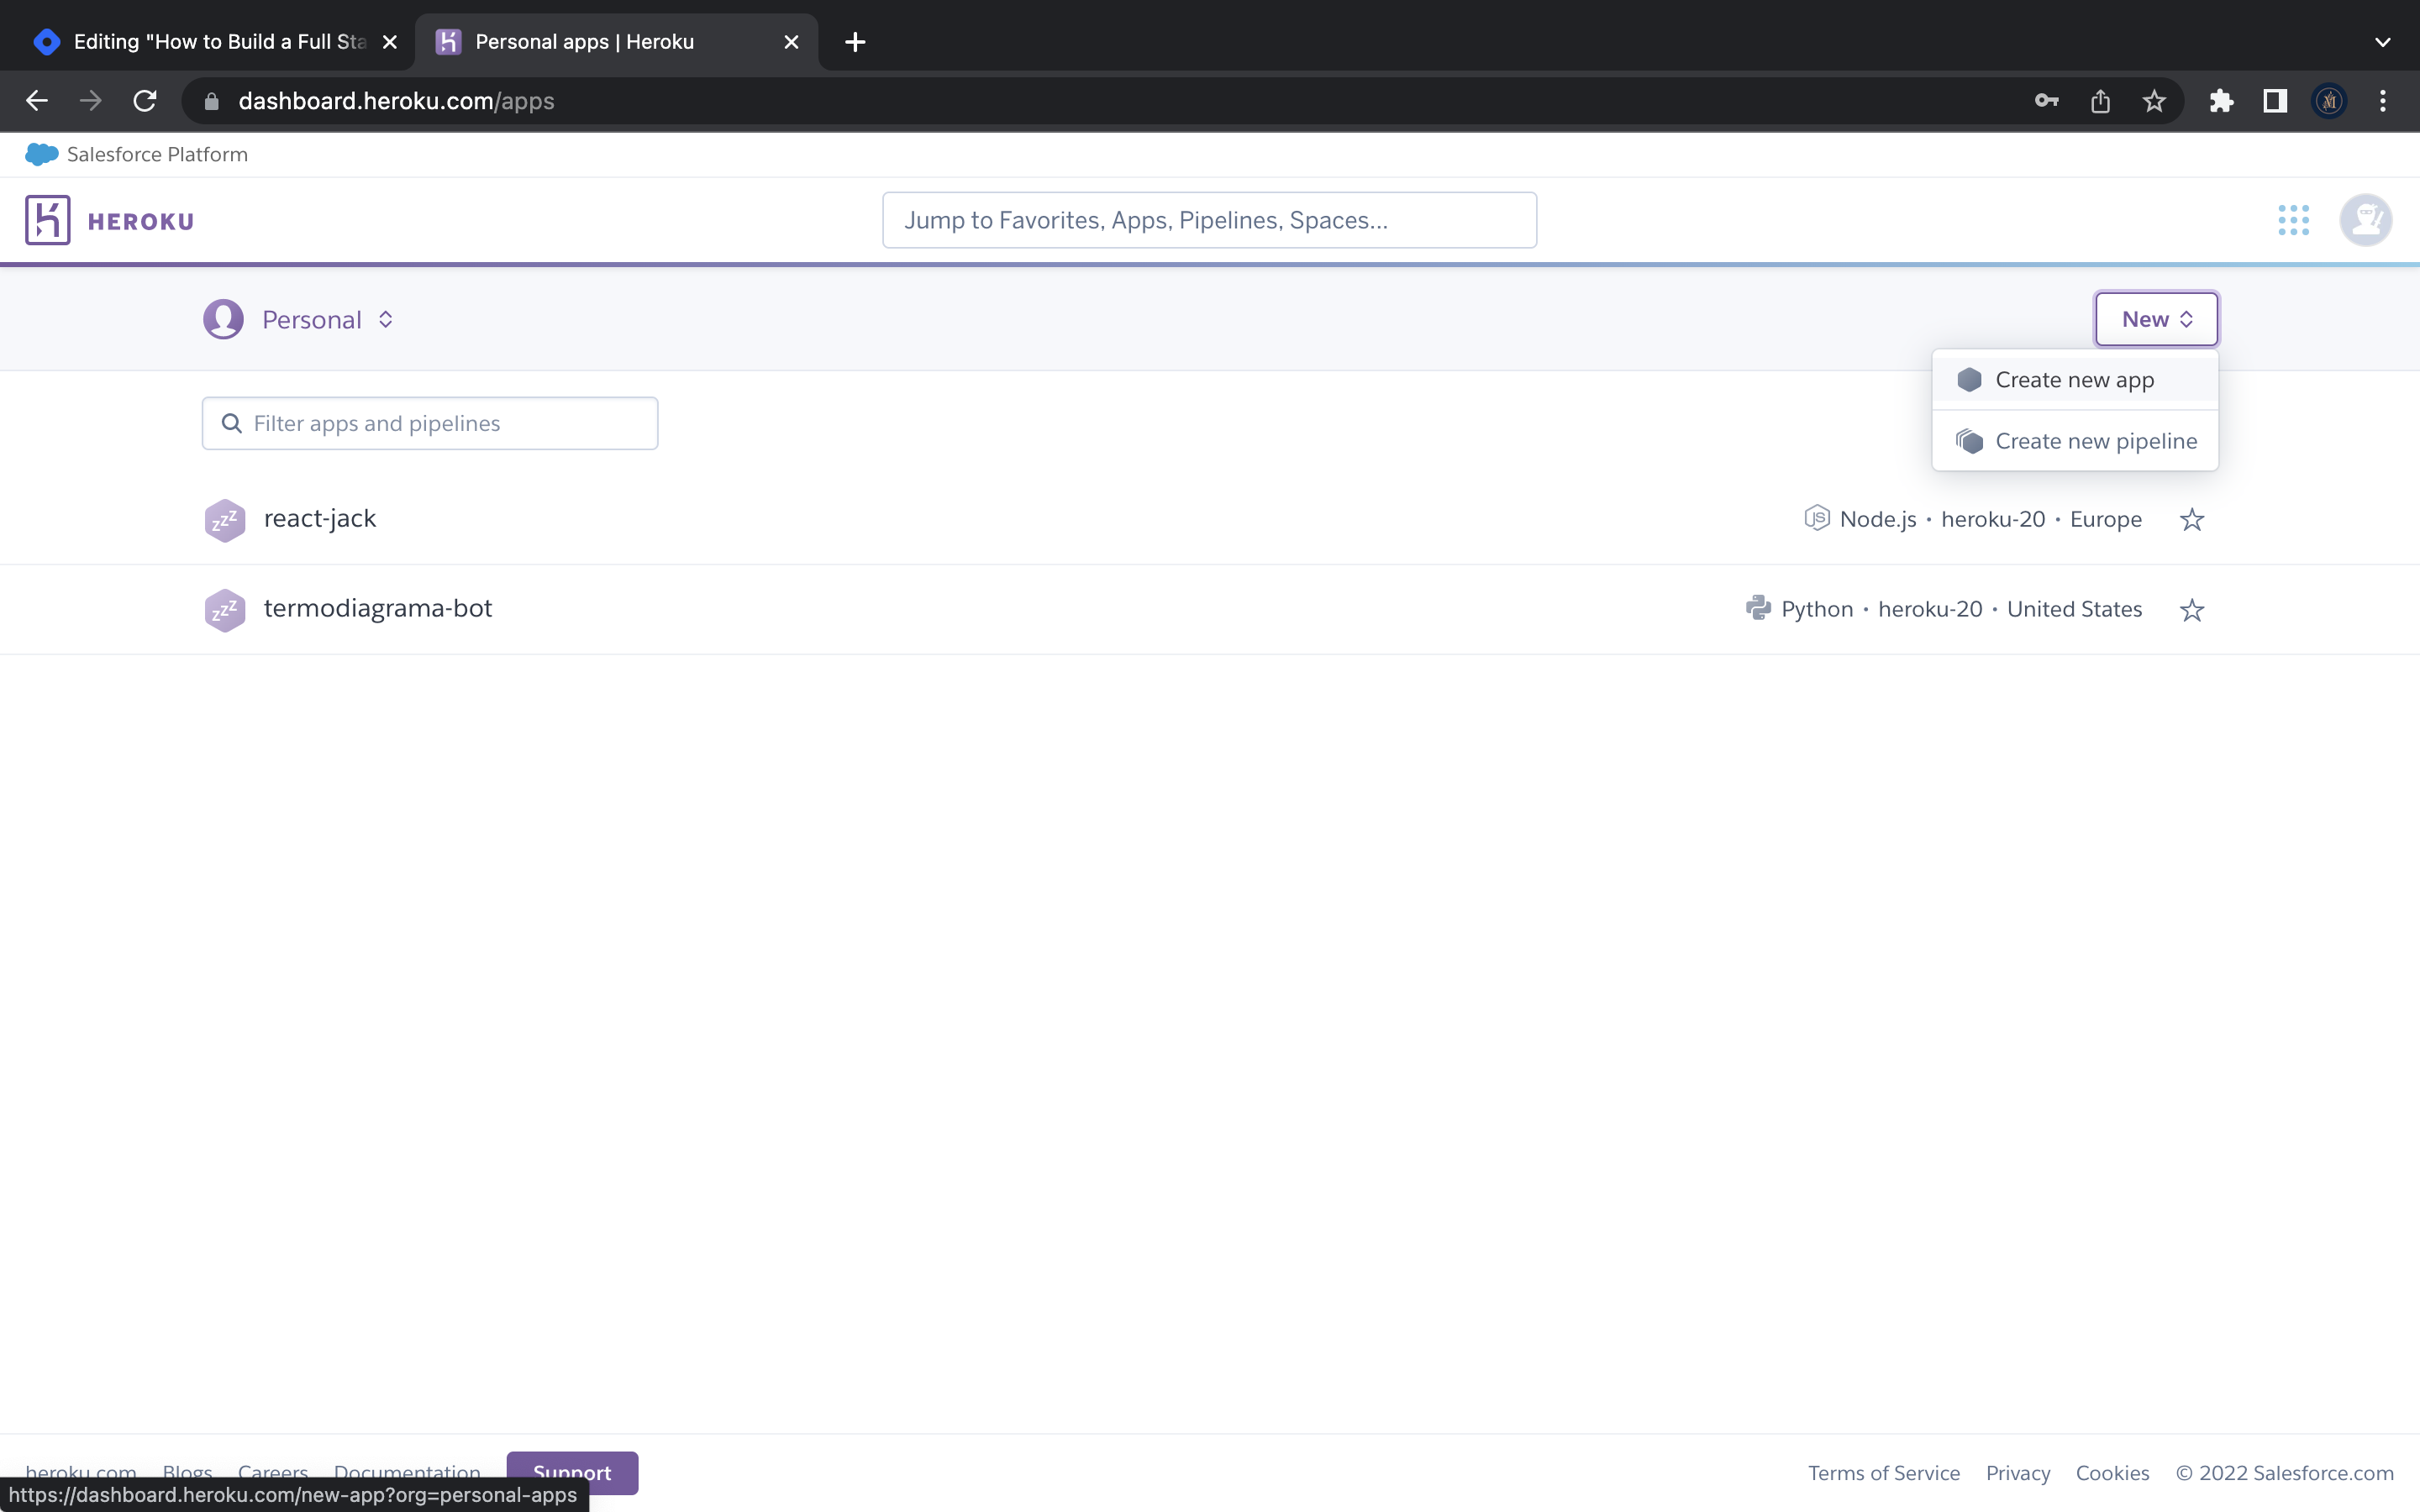
#3: Create new Heroku app
- Navigate to heroku.com and create a new app
- Add a name to your project
- Select US/Europe (depending on where you're located)
- Click the purple 'Create app' button
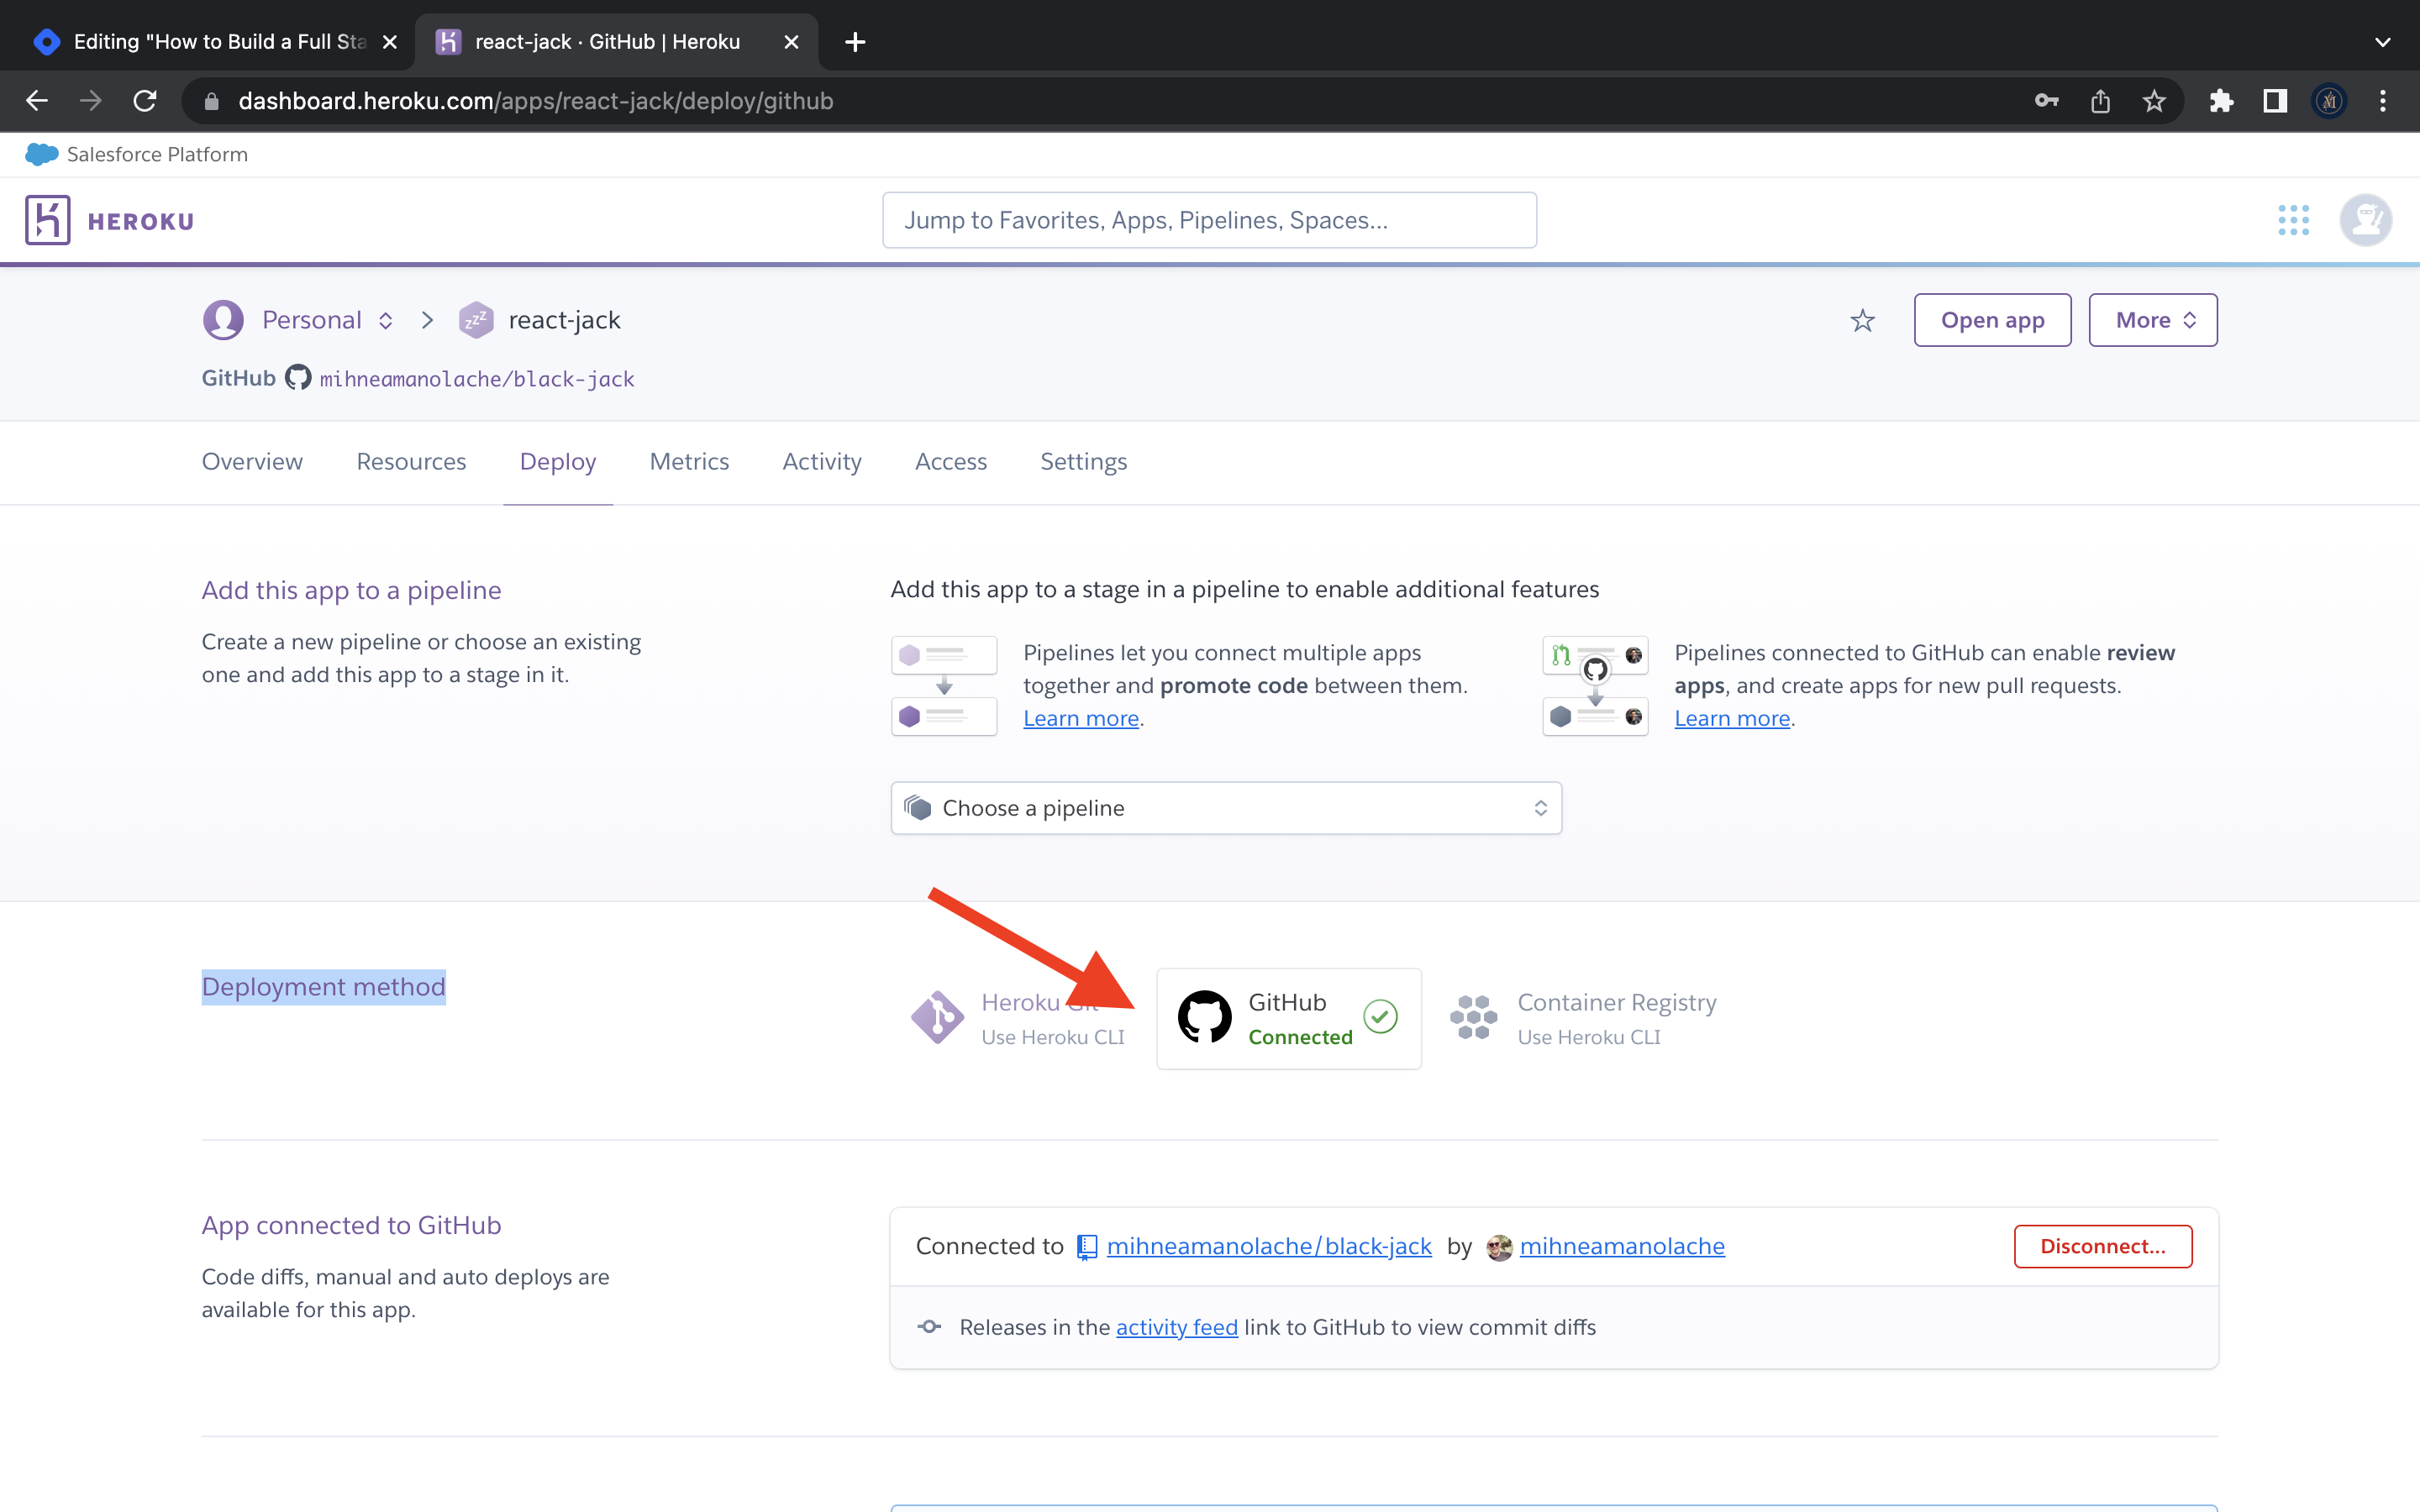
#4: Link Heroku to GitHub
- In your Heroku app, go to the 'Deploy' tab
- Under 'Deployment method', select 'GitHub'
- Search for your newly create repo and select it from the list
#5: Deploy App to Heroku
That's it, the final step of our Full-Stack JS project: deployment to Heroku. And this step is probably the easiest, as it only takes a push of a button:
- Scroll down on your 'Deploy' tab and under the section called 'Manual deploy', push the 'Deploy Branch' button. If you followd my steps, you worked on
masterso there is no need to change the branch.
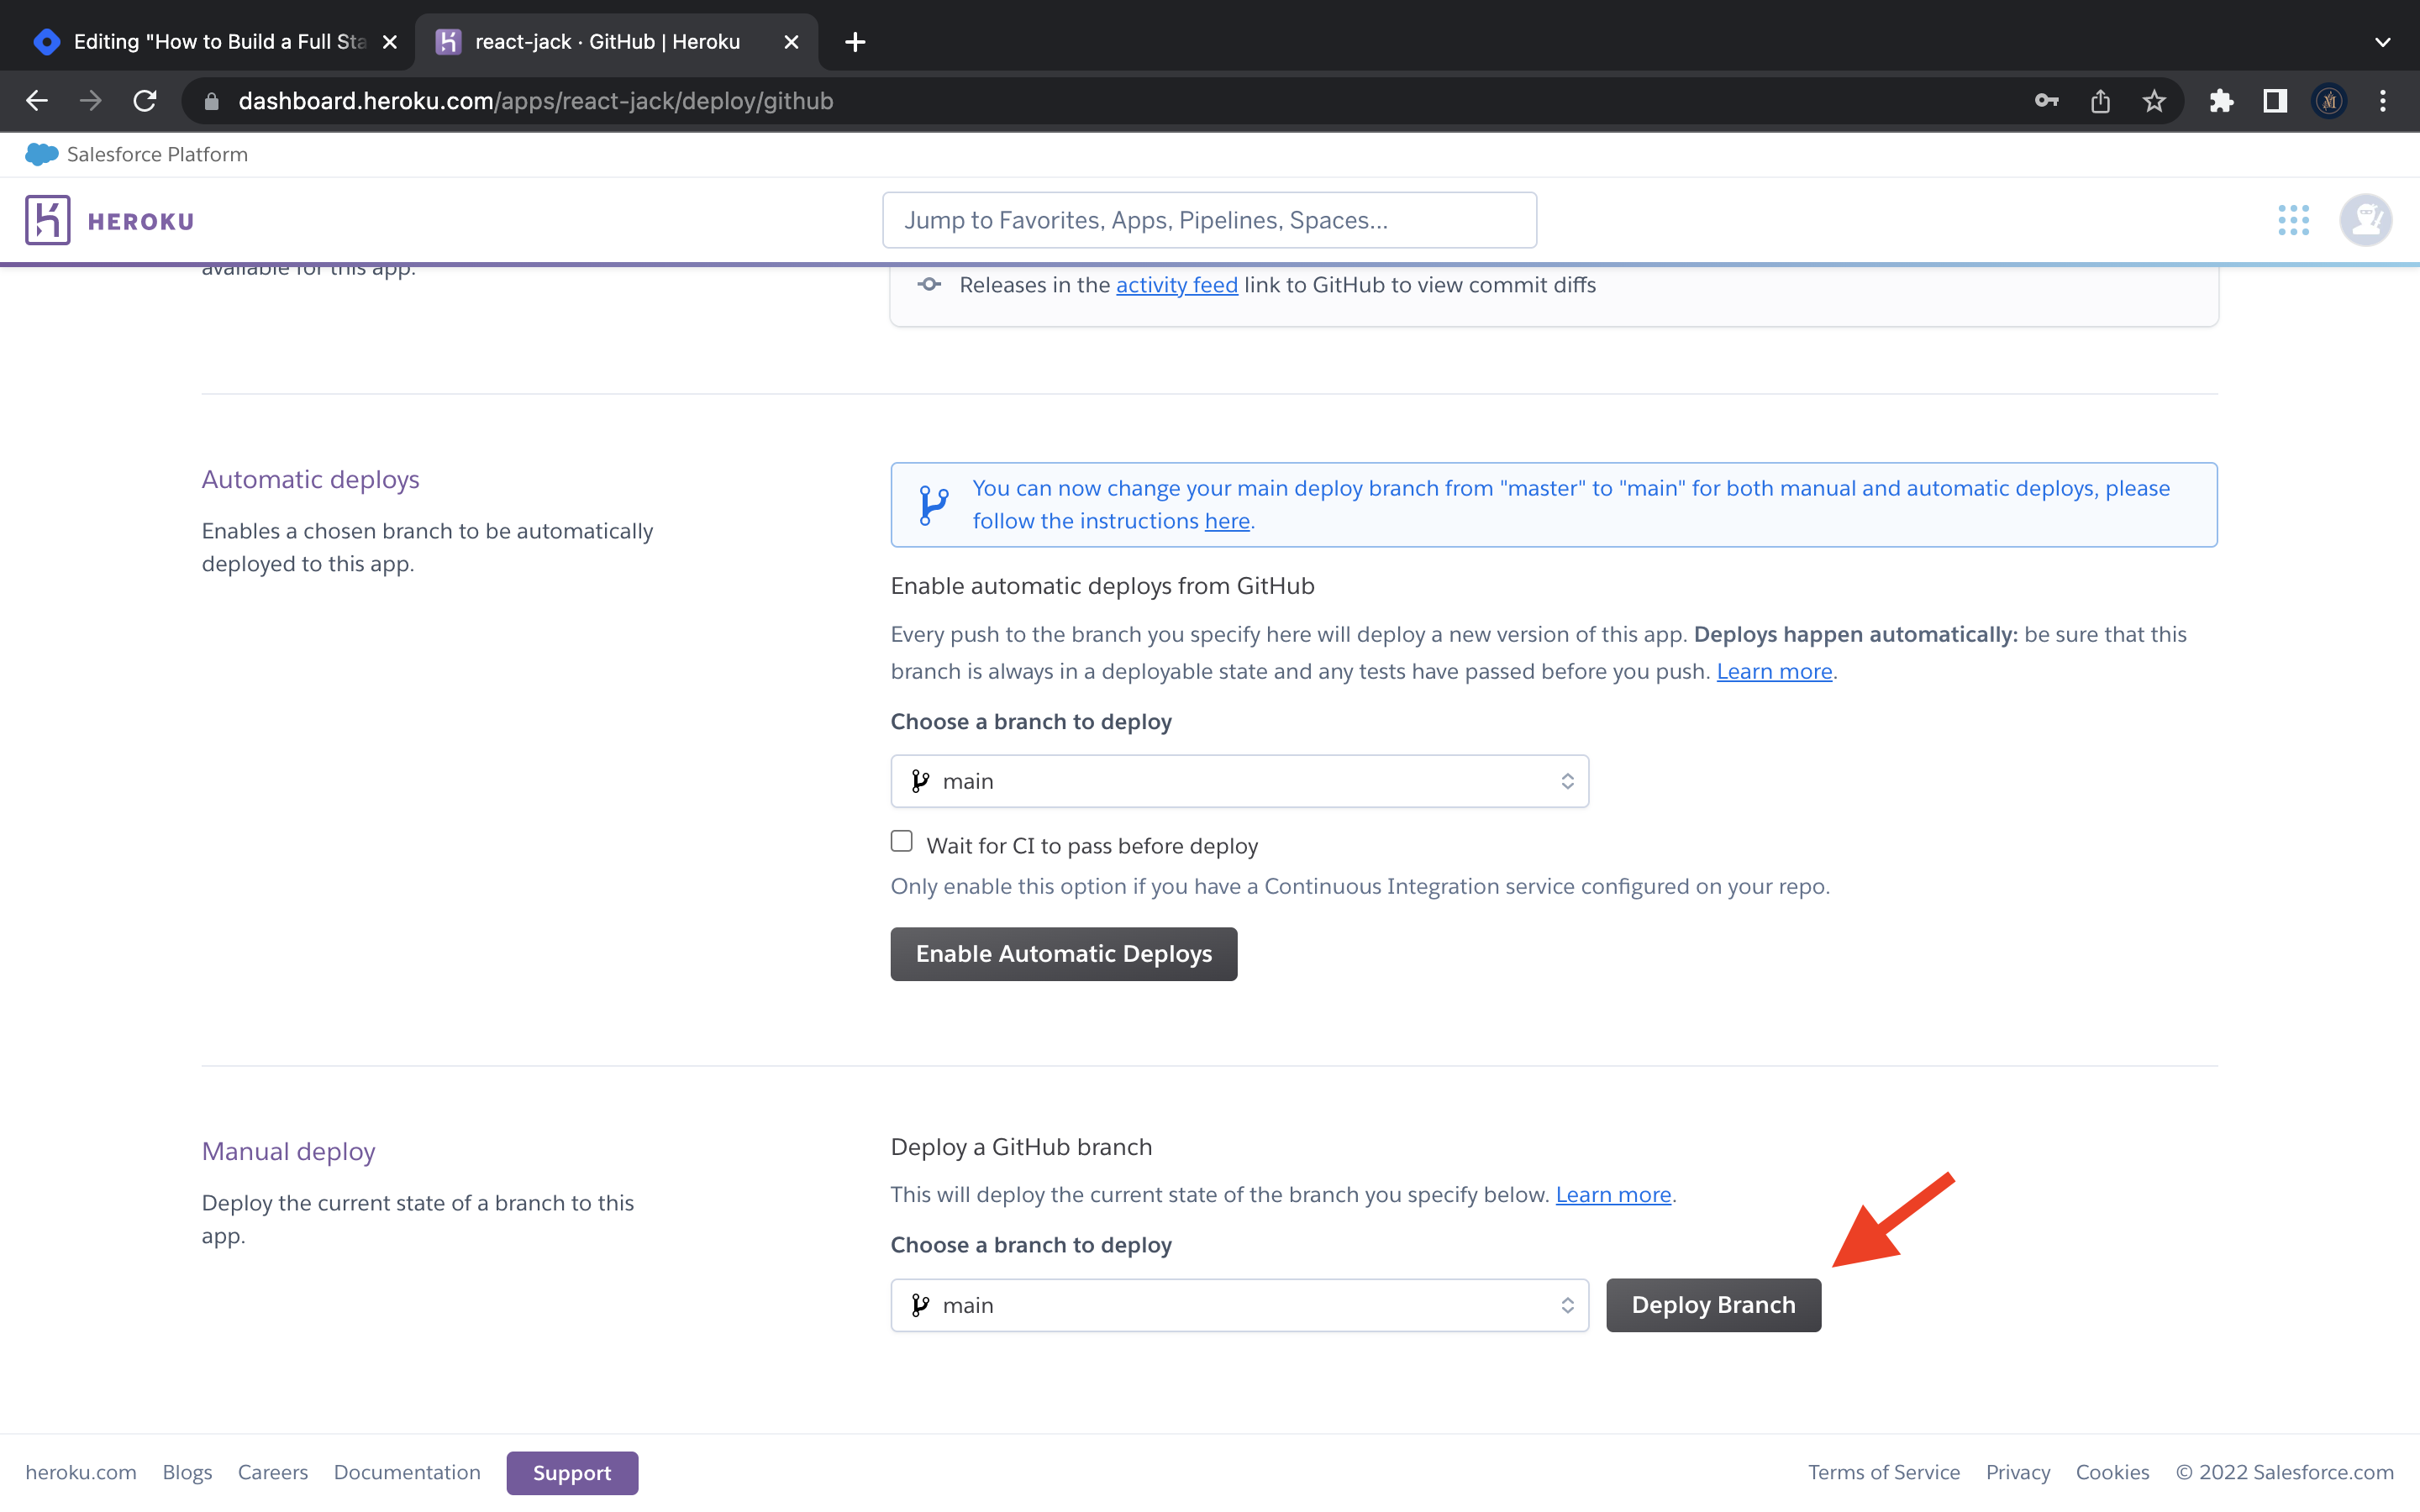
You can also opt for automatic deploys, that will deploy your app on every push on you main GitHub branch. But that is something you can play with moving forward.
I know this is quite a long article, so I am going to skip the conclusions part. If you've gotten this far, thanks for reading and do note that I am always available to answer your questions, either by email ( mihnea.dev@gmail.com ), or by social media. Have a good day ahead and enjoy your new full-stack app!

![[Vulnerability Report] Redis Unauthenticated Access](/_next/image?url=https%3A%2F%2Fcdn.hashnode.com%2Fres%2Fhashnode%2Fimage%2Fupload%2Fv1684485847855%2Fe8b06d55-8e80-4b50-8b44-d5d09d538d07.gif&w=3840&q=75)

